
Bathrooms built for Bentleigh houses
Home · Services · House types · About · Contact · Request a quote
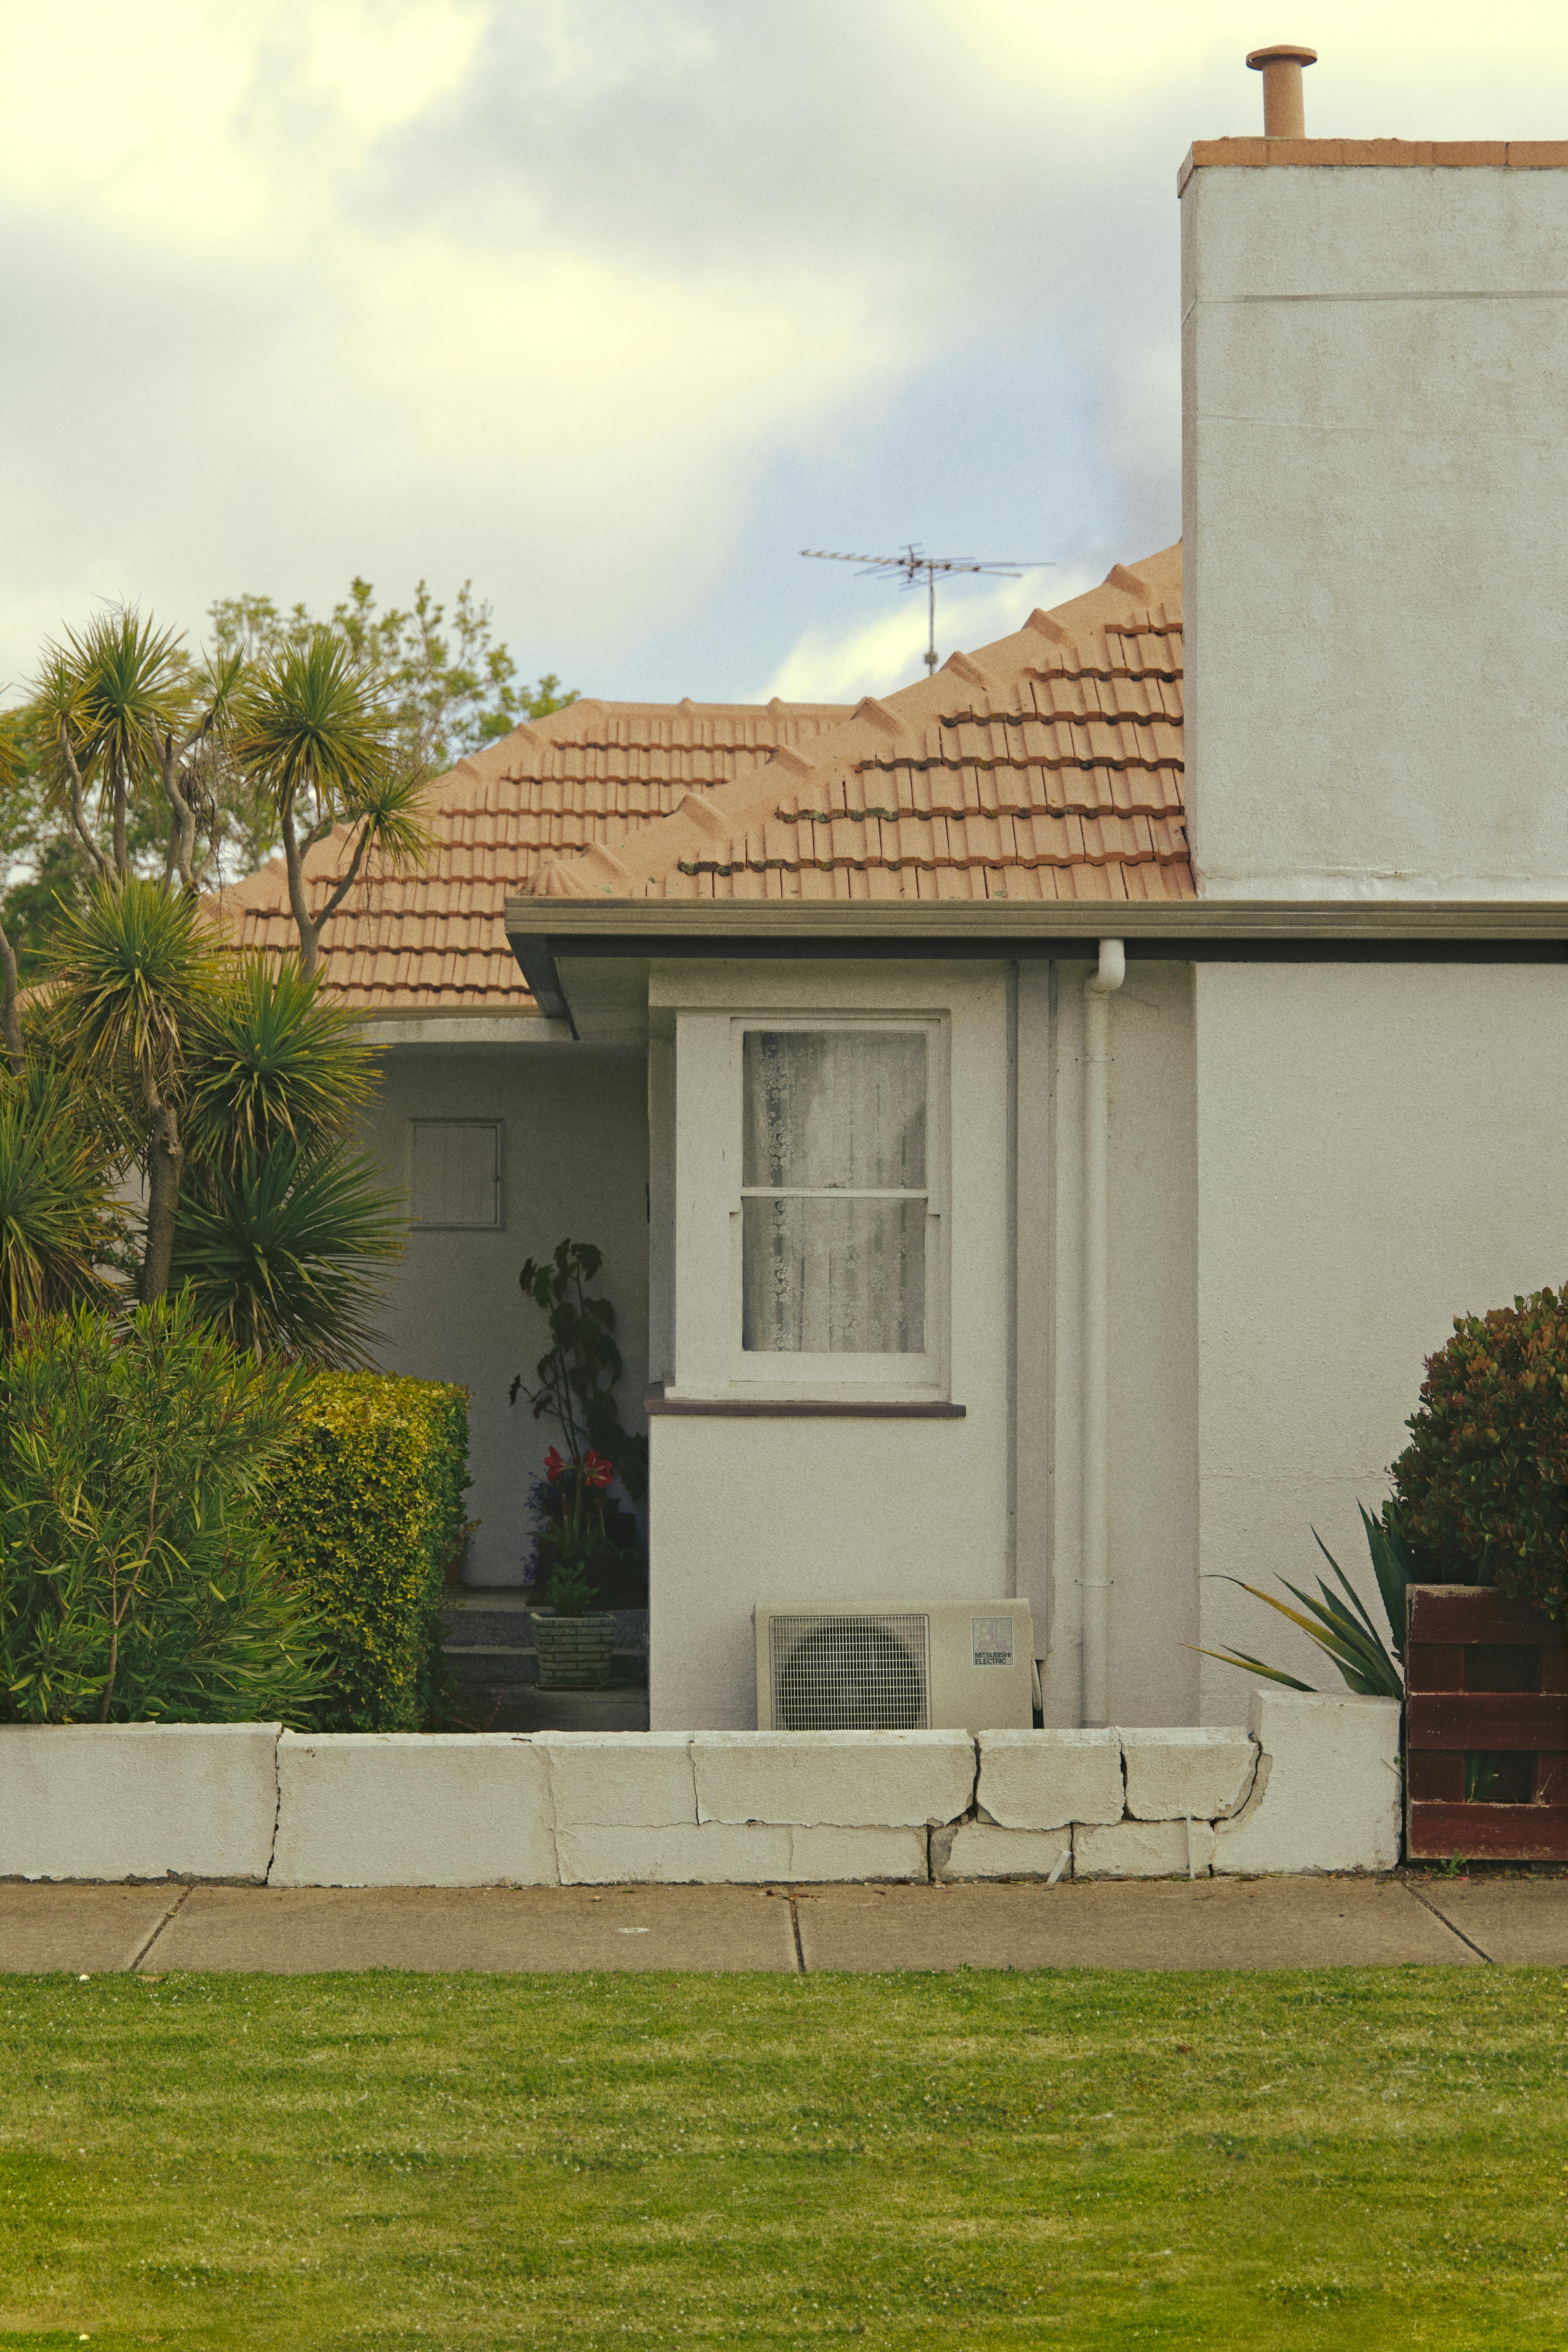
BENTLEIGH · MCKINNON · ORMOND
Three house types cover most of Bentleigh, and each one decides what a bathroom renovation can and can’t do before anyone picks a tile.
Most bathroom renovations in Bentleigh fall into one of three building fabrics: an interwar bungalow with a stumped timber floor and a separate toilet, a brick-veneer home from the sixties and seventies with hollow stud walls, or a newer townhouse sitting on a slab with a shared plumbing wall. The finishes people ask for are similar — frameless screen, wall-hung vanity, large-format tile, matte black or brushed tapware. What differs is how much has to move behind the wall to get there, and that is what moves the price and the program.
Read the entry that matches your house. It sets out the usual layout constraint, what generally has to be relocated, and what that changes about drainage and waterproofing.
— 1920s – 1940s —
— 1.6 m typical width —
Weatherboard and red-brick bungalows usually carry the bathroom at the back of the original plan, narrow, with the toilet in its own room off the laundry or back porch. Floors sit on stumps and bearers, so levels wander and the sheet flooring has often been patched more than once.
The common move is taking out the wall between the toilet and the bathroom to win a proper shower. That single decision brings in floor structure, drainage falls and a full re-waterproof.
Typical constraints
Timber floor needs new structural sheeting before tiling
Shallow, older drainage may force a step or a hob for a linear waste
Stud walls are rarely straight — screens and niches get set out on site
Removing the toilet wall means checking whether it carries load
Related: small bathrooms & ensuites · waterproofing & tiling
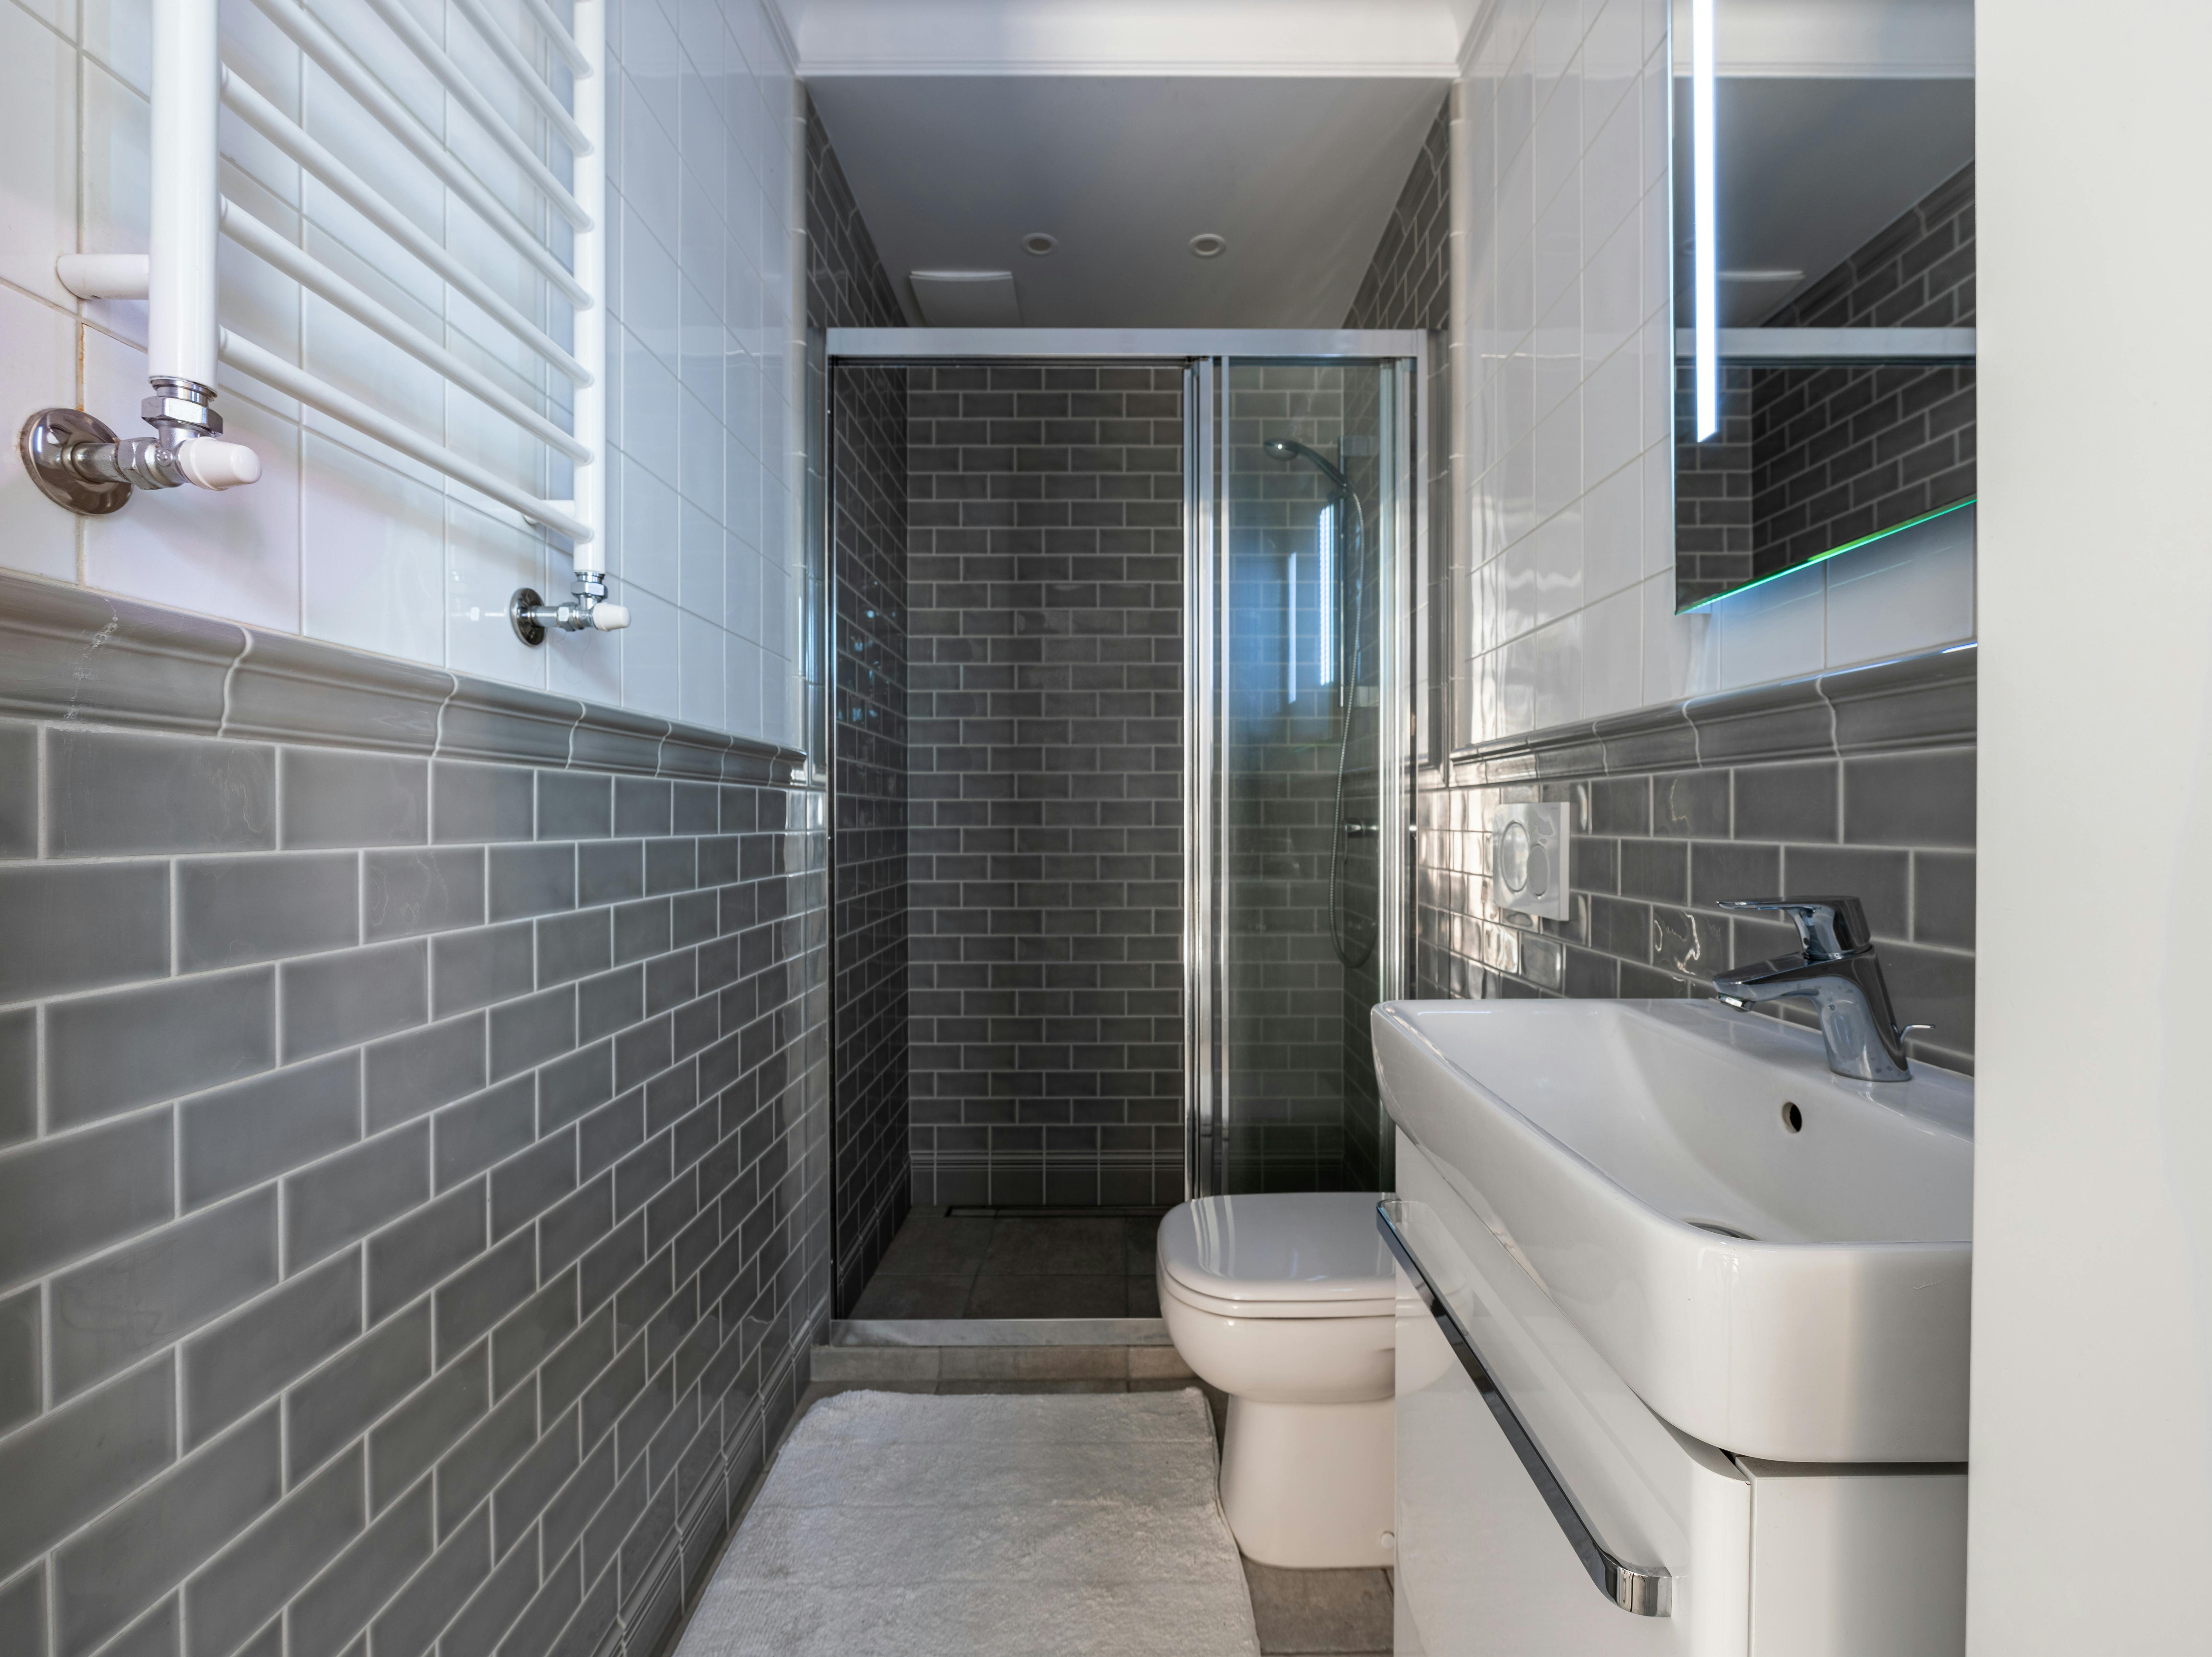
Subway tiling and a glass screen in a narrow footprint — the shape most bungalow bathrooms end up as.
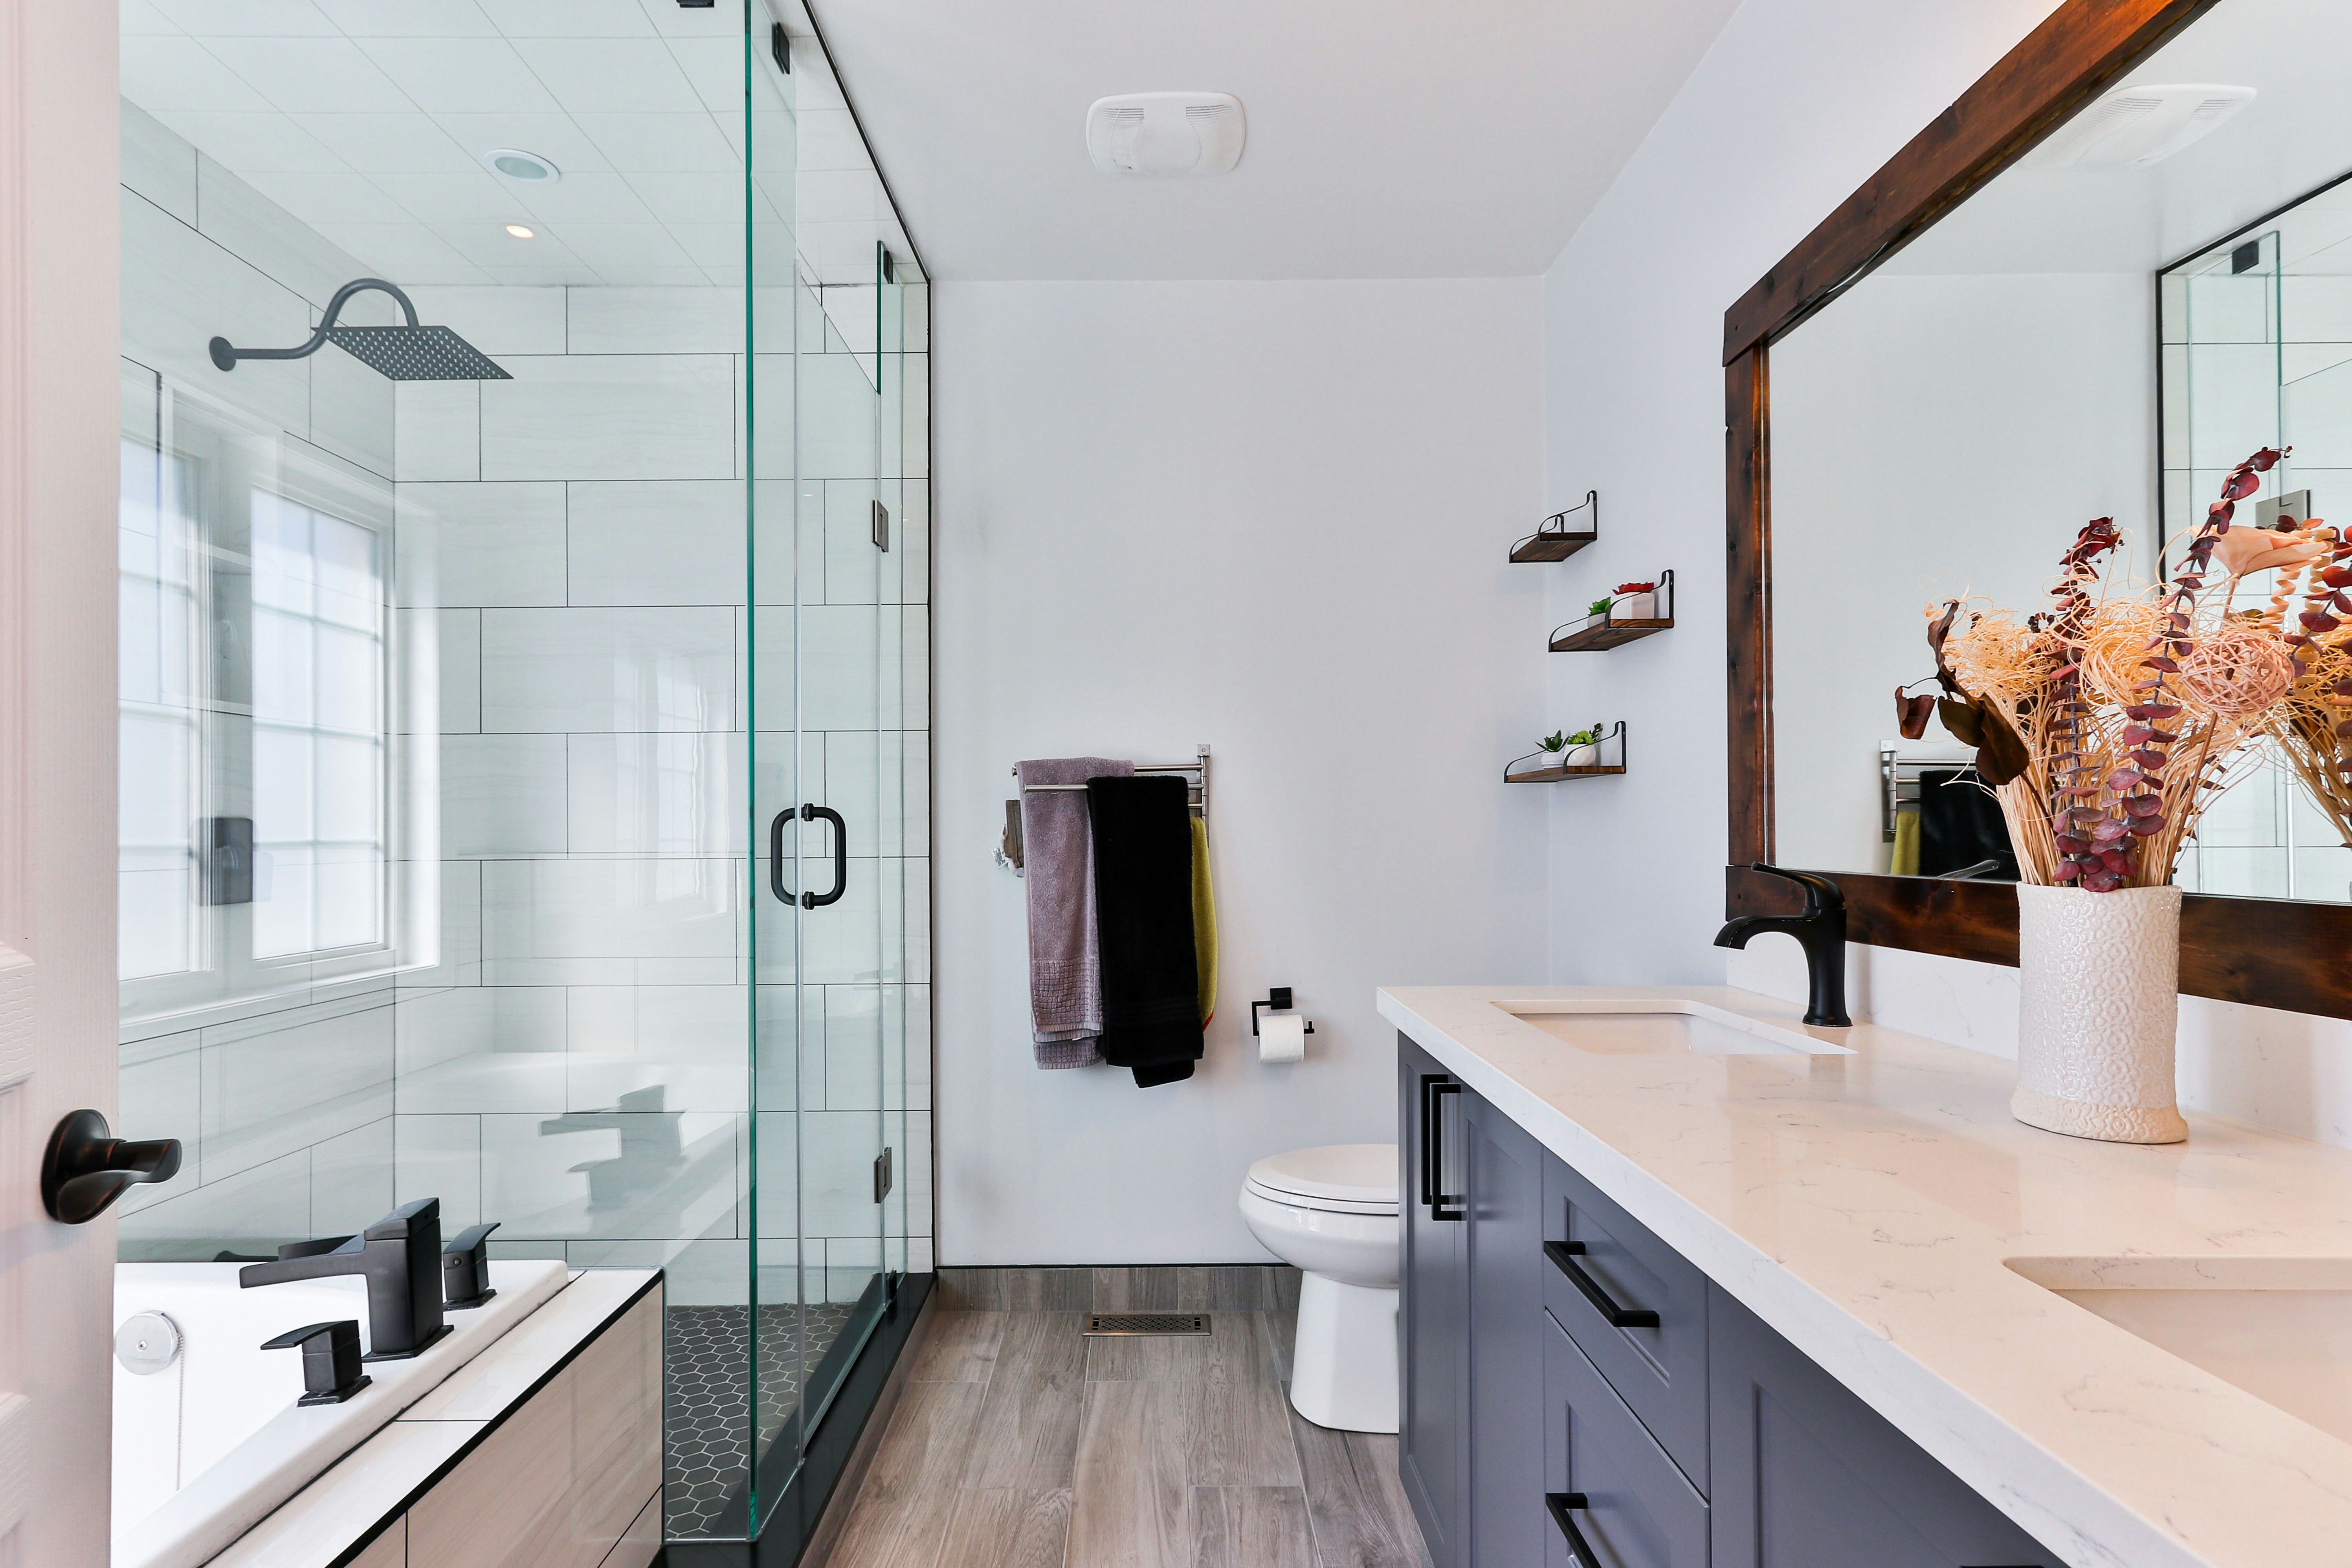
A wall-hung vanity and open screen — the finish that suits a squared-off brick-veneer room.
— 1960s – 1980s —
— separate toilet —
These are the easiest rooms to change. Internal walls are hollow stud, so waste and water lines can usually be re-run without cutting anything structural. The bathroom is normally a squarish room with a window to the side boundary, a bath under it, and a separate toilet next door.
The real constraints sit outside the room: where the sewer connection meets the boundary, and how far the window can be reduced or replaced before the elevation looks wrong. Combining the toilet gives you room for a 900–1200 mm shower and a longer vanity.
Typical constraints
Window height often clashes with a full-height shower wall
Original vent stack position limits where the pan can go
Wall tiles from the era are usually bedded in mortar — strip-out is heavier than it looks
Ceilings may need new insulation and an exhaust run to outside air
Related: showers & vanities · full bathroom renovations
— 2000s – today —
— shared plumbing wall —
Newer builds put a compact main bathroom and an upstairs ensuite against one shared plumbing wall. Downstairs sits on a slab; upstairs sits on a timber floor with a limited depth to work with, which is why the ensuite is the fussier of the two.
Slabs can be cut and re-cored, but every relocation adds work and noise, and where there is an owners corporation the common-property rules decide what you can touch. Keeping the set-out and changing the room through cabinetry, screen height, lighting and tile size is often the better spend.
Typical constraints
Floor waste position is largely fixed by the slab or the joist run
Upper-level falls need careful build-up so doors still clear the tile
Shared walls mean acoustic and access considerations, not just plumbing
Original builder tiles are often thin format — matching later is unreliable
Related: small bathrooms & ensuites · design & planning
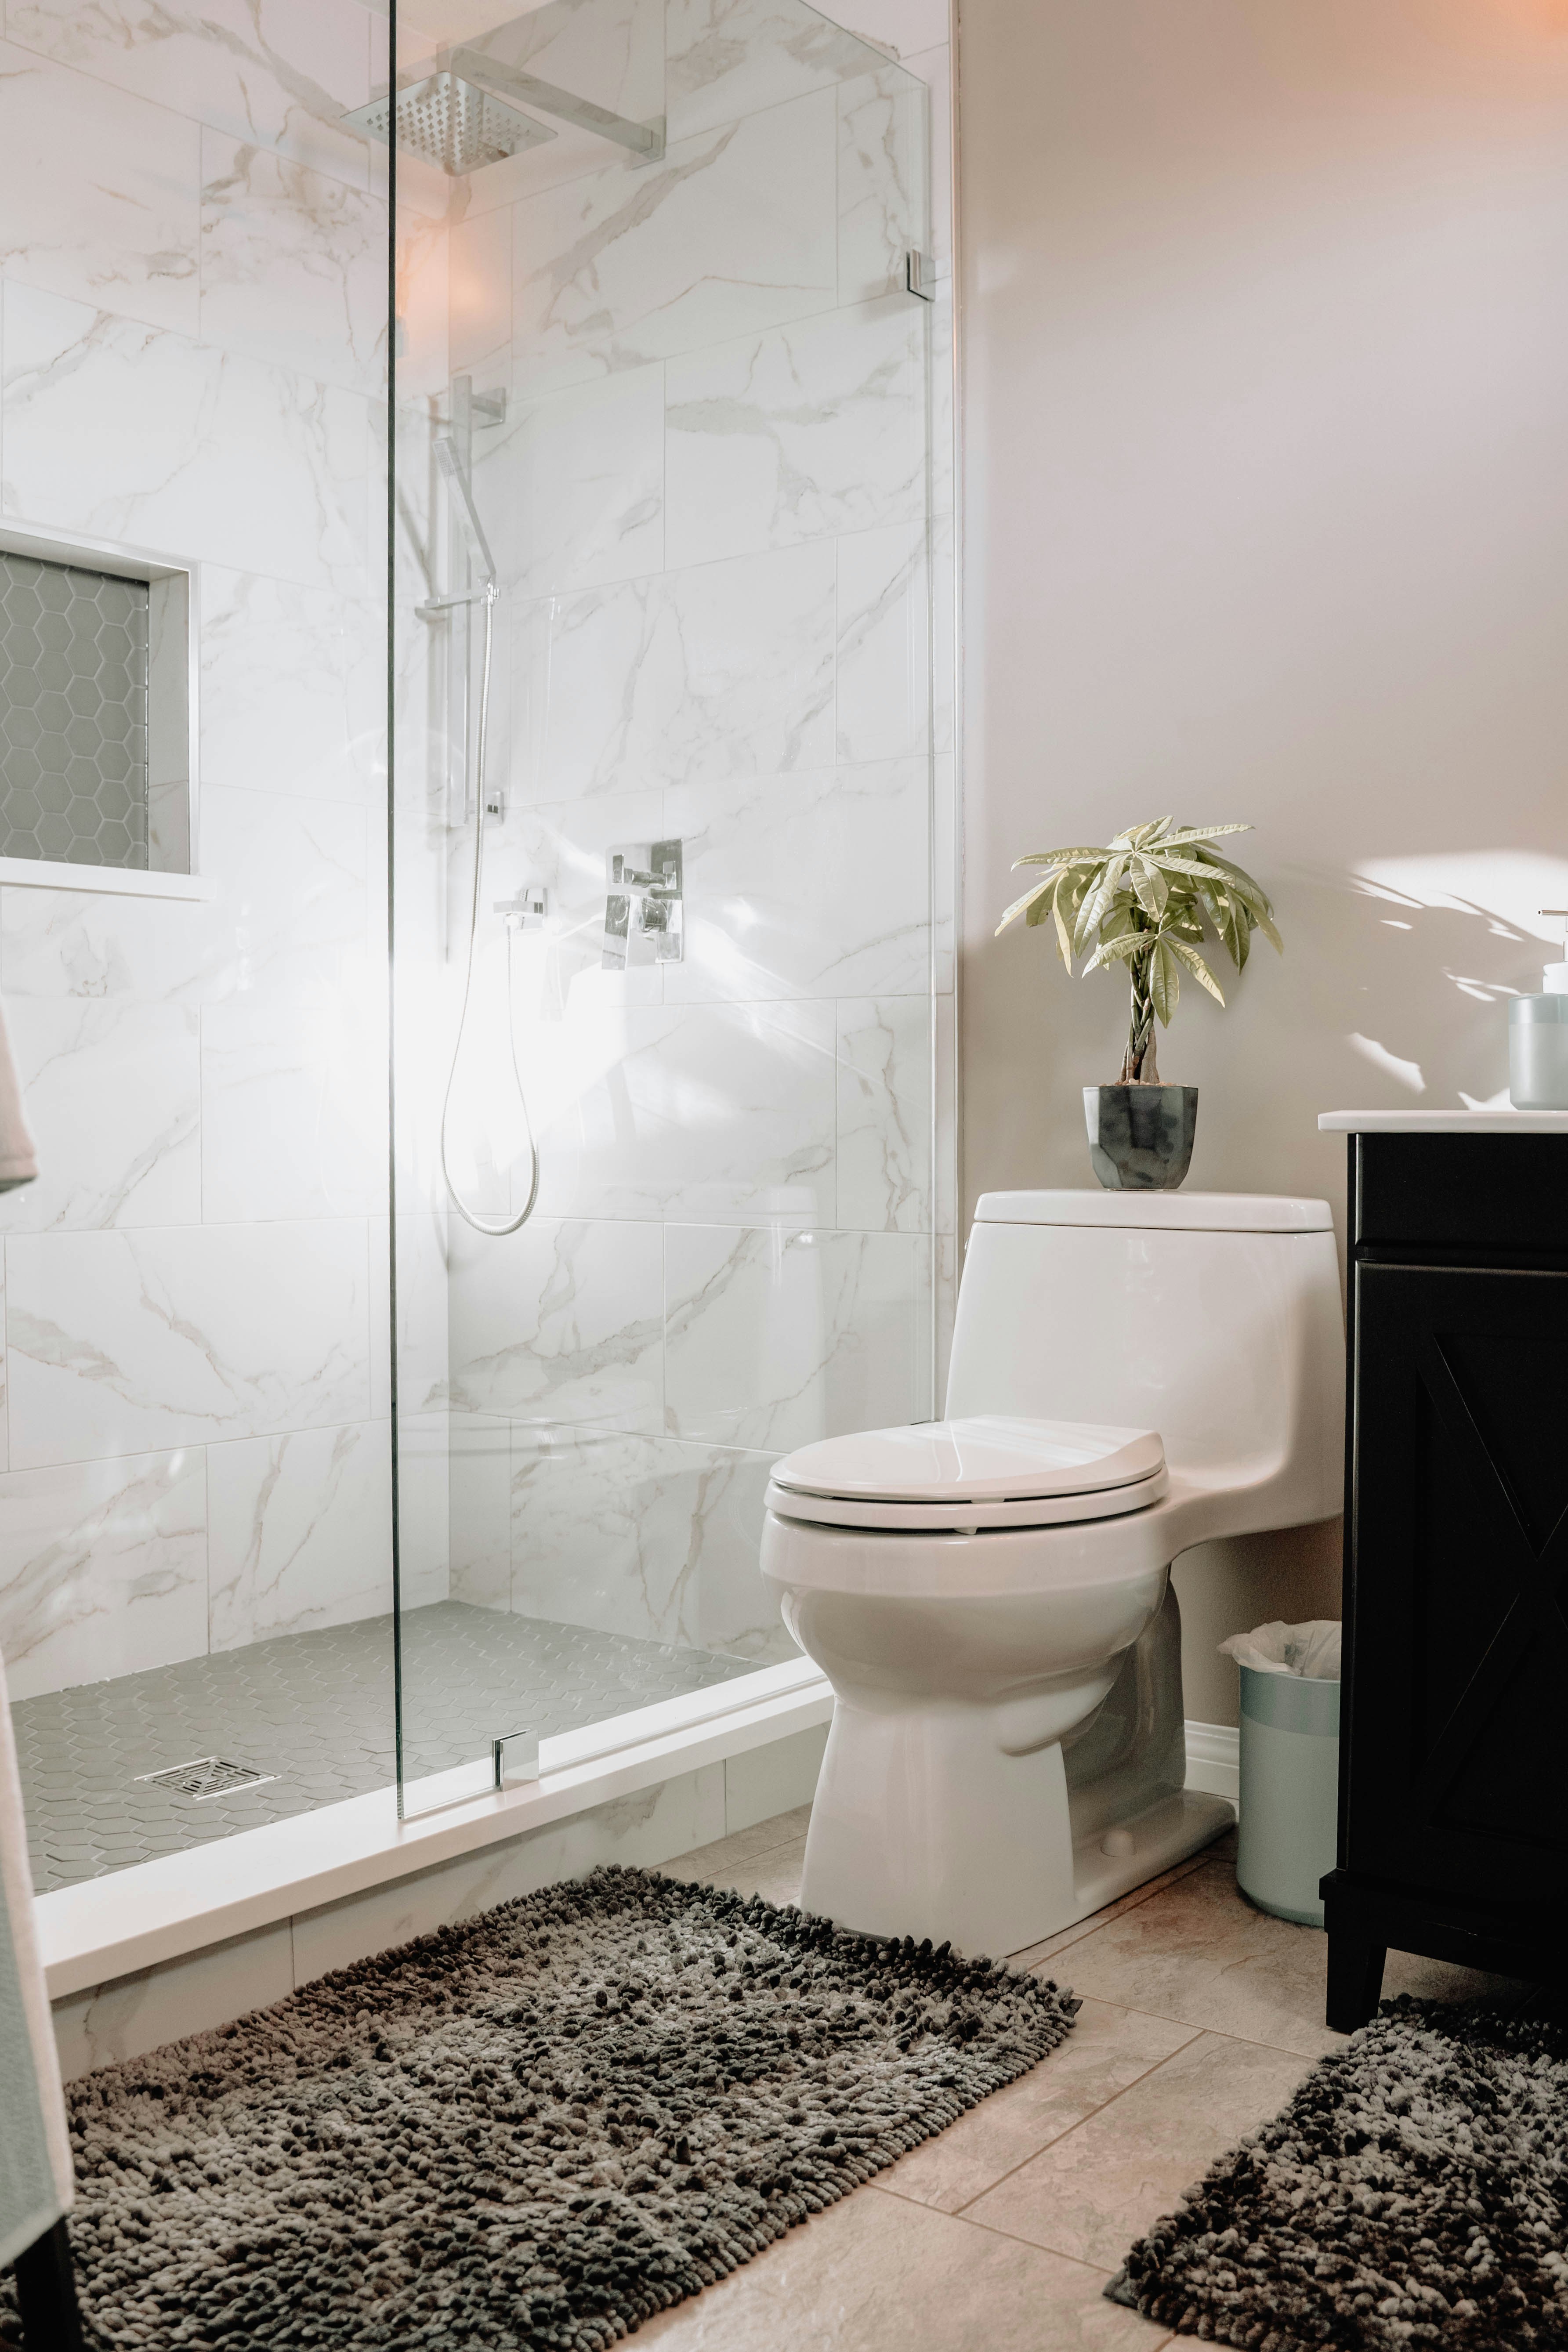
Marble-look tile and a clear screen keep a fixed townhouse set-out feeling larger.
Keeping the set-out
Fixtures stay where the drainage already is. The room changes through cabinetry, screen height, tile format, lighting and tapware. Fewer trades, shorter program, and the money lands on things you can see.
Changing the plan
Toilet relocated, bath removed, wall opened up. Now you are into floor structure, new falls, a re-set vent and a fresh waterproofing membrane over the whole wet area. Worth doing when the old layout wastes the room — worth costing properly first.
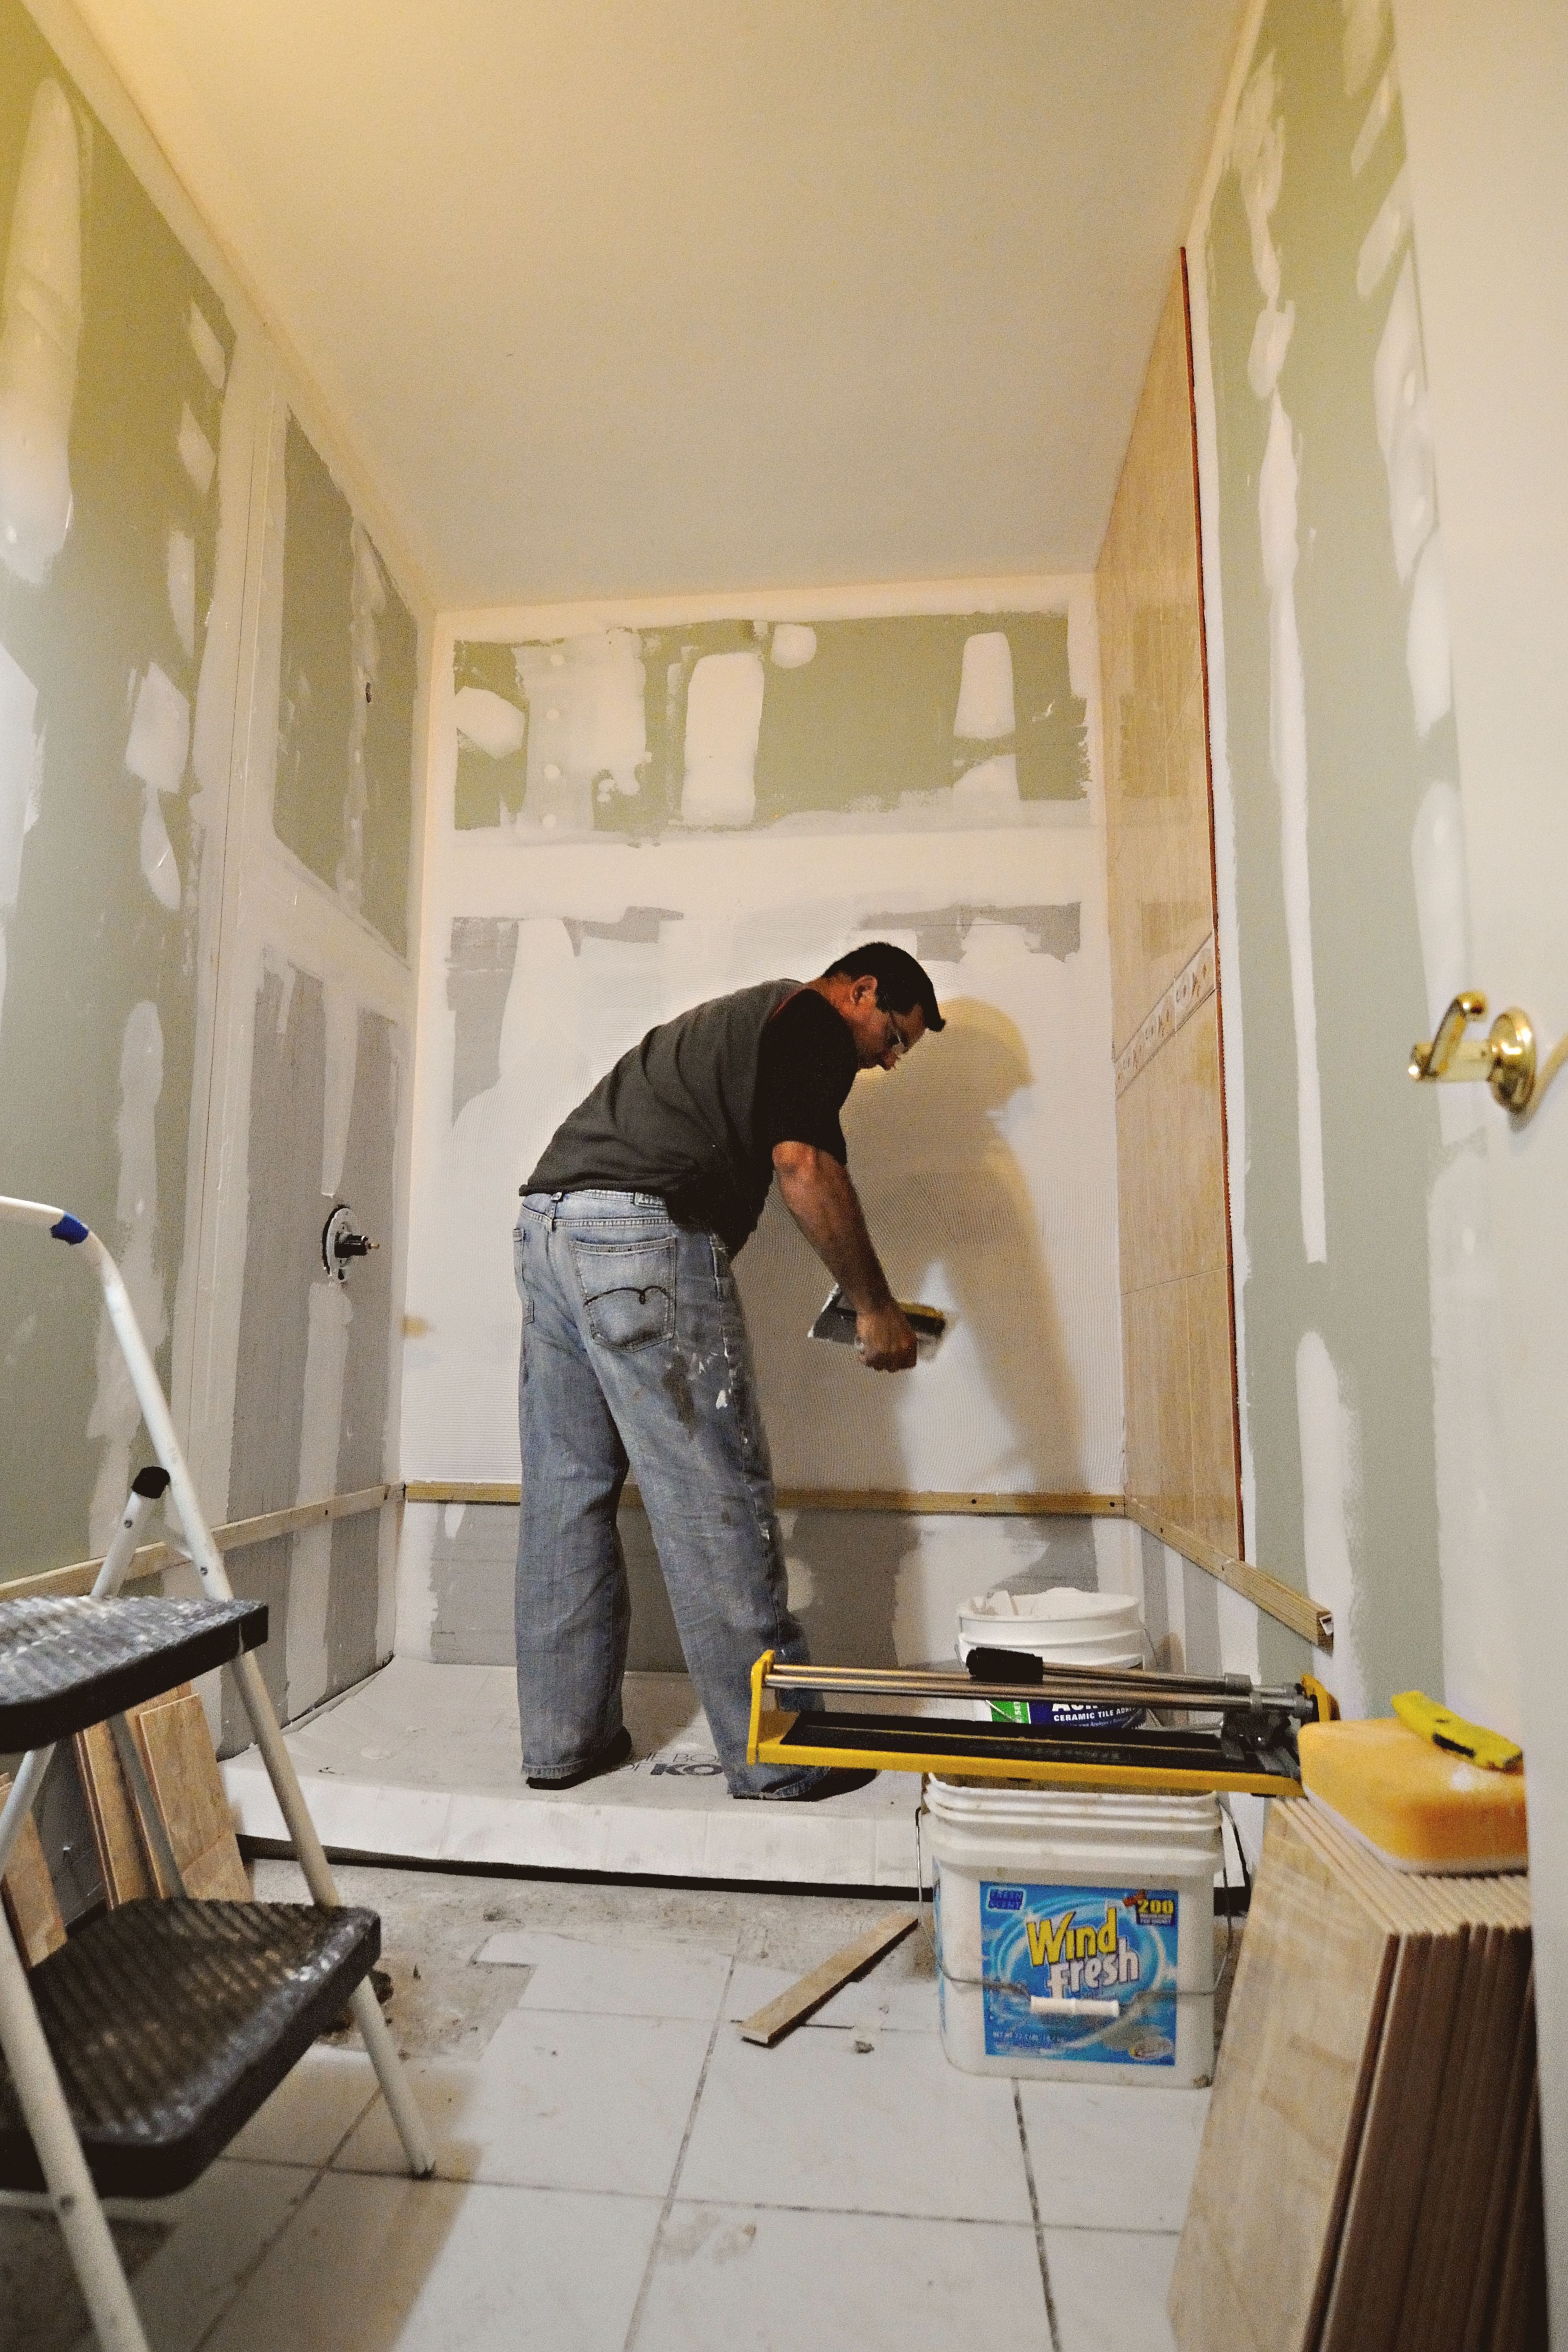
Wall linings being made good after rough-in. Most of the outcome is decided at this stage, before a single tile is set.
01 · Measure and set-out
Room measured, floor structure and existing drainage checked, fixtures selected against real dimensions rather than a mood board.
02 · Strip-out and make-safe
Tiles, linings and old fixtures removed, services isolated, floor condition assessed once it is open.
03 · Rough-in and framing
Plumbing and electrical set to the new plan, niches and screen fixings framed, floors levelled and sheeted.
04 · Waterproofing
Membrane applied to falls, junctions and wet-area walls in line with AS 3740, then left to cure before anything covers it.
05 · Tiling and fit-off
Set-out drawn on the floor first, tiles laid to the falls, then vanity, tapware, screen, lighting and silicone.
The questions worth settling early, because they change the drawing rather than the shopping list.
Plan on several weeks of trade time for a full renovation, and remember the two pauses nobody can compress: the membrane has to cure before tiling, and screens are usually measured after tiling, then made. If the house has only one bathroom, sort out where you will shower before the strip-out starts.
A like-for-like renovation inside the existing footprint is usually straightforward. Moving structure, altering windows, or working in a townhouse under an owners corporation changes that. We tell you which category your job falls into before anything is ordered.
Before rough-in. Tap bodies, shower rails, wastes and niche sizes all get set into the wall at that stage. Choosing a floor-mounted bath spout or a wall-hung pan after the plumber has finished is the most expensive kind of late decision.
Relocated drainage, structural floor repairs found at strip-out, non-standard screen or cabinetry sizes, and mosaic or small-format tiling that takes far longer to lay. Large-format tile with a simple set-out is usually the calmer choice for a small room.
Your suburb, the age and type of the house, the room’s rough dimensions, whether the toilet is separate, and what you want it to become. Photos of the existing room help more than anything else. Send those through the contact page.
We work through Bentleigh, Bentleigh East, McKinnon, Ormond, Moorabbin and Brighton East. Send the details and you will get a considered reply about your house, not a template.
Include these seven things
Name · Phone · Email · Suburb
Renovation type — full bathroom, ensuite, shower, laundry
Timeframe
Project details, plus photos of the room as it is
Bathroom renovation design and build for the houses of Bentleigh and the surrounding south-east suburbs — bungalows, brick veneer and townhouses.
Service areas
Bentleigh · Bentleigh East
McKinnon · Ormond
Moorabbin · Brighton East
Hampton East · Carnegie
Bathroom renovation design and build for the houses of Bentleigh and the surrounding south-east suburbs.
Service areas
Bentleigh · Bentleigh East
McKinnon · Ormond
Moorabbin · Brighton East